Ultra Thin Moon at noontime
Just over a day from New Moon
with the
Orion 10" f/3.9 Newtonian Astrograph
July 2, 2016
Uploaded 7/3/16

  Left: daytime moon very close to the Sun. Right: Telescope setup required to image this encounter.
|
This was
certainly one of the most difficult lunar imaging sessions I
have ever done! With the thin crescent moon only 24 hours from
new, the only time I could actually image the crescent was at
noon at the zenith. Even if I had a perfect eastern horizon,
the seeing down that low would have been excruciating. Fortunately
the seeing I had at the zenith permitted some details to be resolved,
and the transparency was good for a typical monsoon high humidity
afternoon. To be able to image with the high sun blasting my
black telescope tube, I wrapped the scope with a huge silver
mylar space blanket. Next I had to add a big black internally
carpeted baffle on the front of the tube so that the direct sunlight
would not enter the focuser from the side. By removing only the
two inch dust cap on the front scope cover, I could then safely
point the scope at the sun and center it by its projected beam
on a white paper. An interesting trick when you do this, is to
project the sun about four feet away onto a white card. Then
the beam is nearly parallel coming out of the eyepiece. When
you point away from the sun in a featureless blue sky, the view
is in infinity focus. The setting circles (manual mind you) were
dialed in to the RA of the Suns current position. (DEC is always
right on a permanently mounted base) Next the moons current
position was dialed up using a planetarium program Stellarium
to get the current lunar coordinates.
When a wide field
ocular was inserted, the moon was just barely visible in very
brilliant light blue sky! Fortunately, the camera is much better
at seeing low contrast objects like this, and using the IR filter
to cut through the bad daytime seeing made it easy to see the
moon and some surprising features! The whole idea here was to
see if there was a contrast boost using the IR filter vs just
visible light. The result of THAT experiment will surprise you...
|
Note: Conventional usage of South is up in all images, more info below.
(So Rik, stand on your head please.)
 |
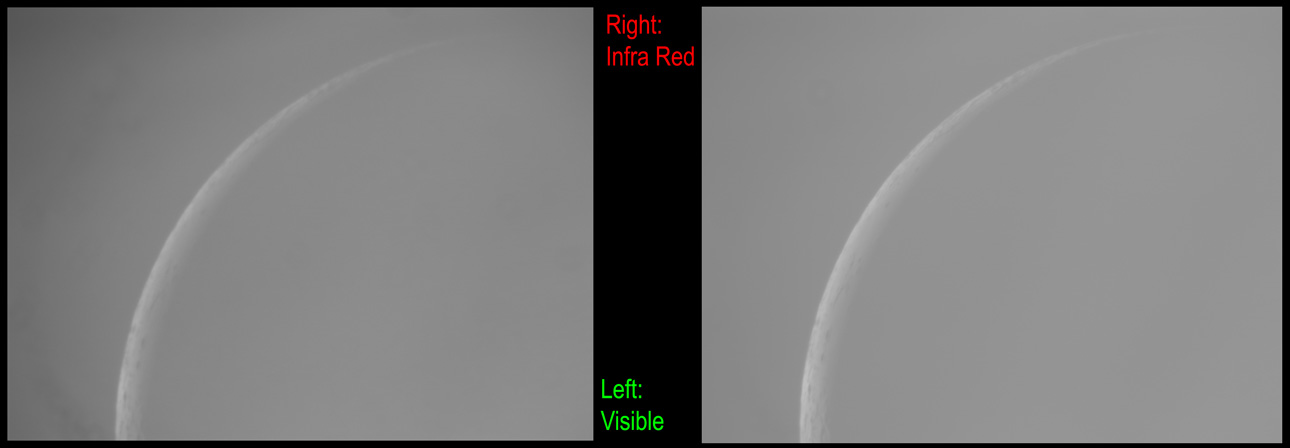
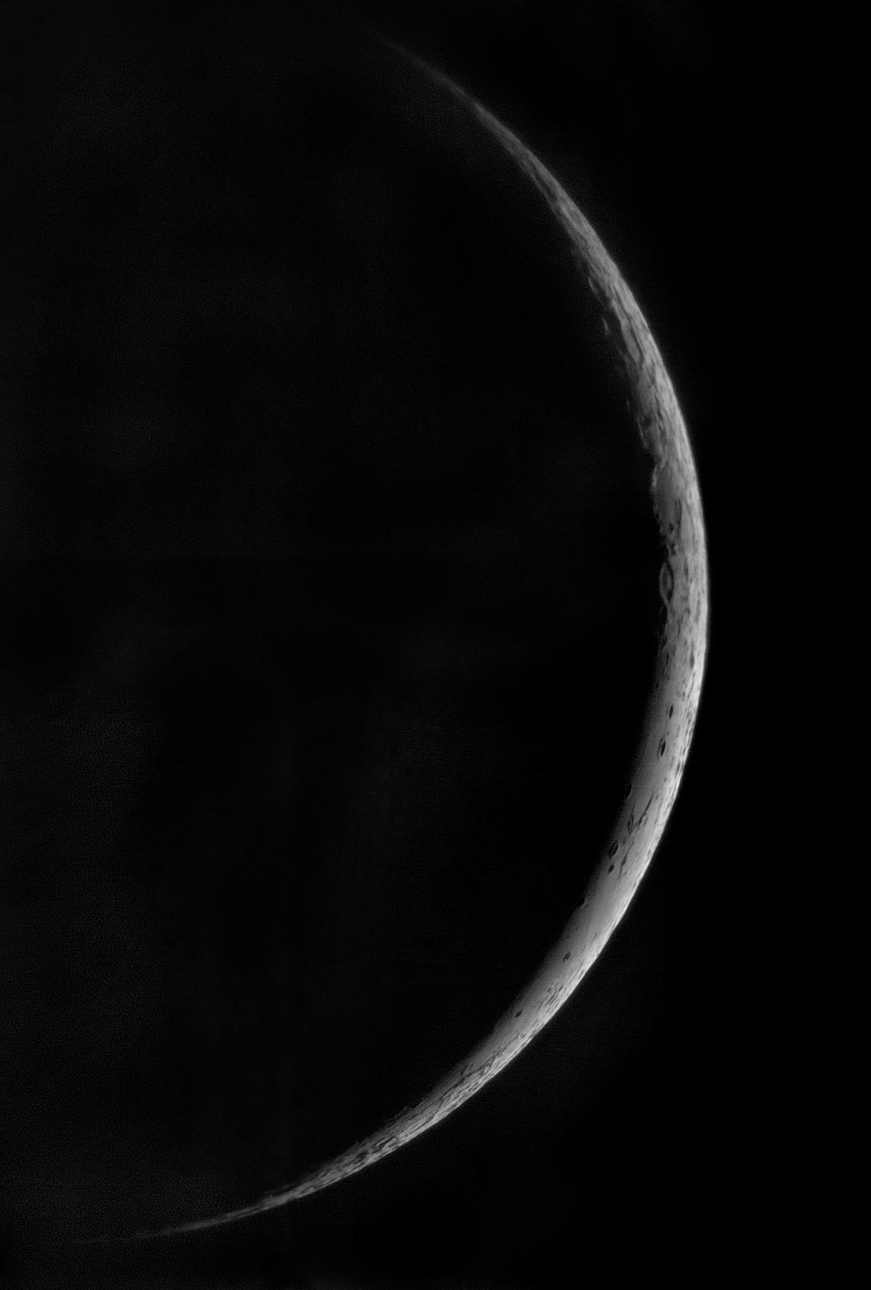
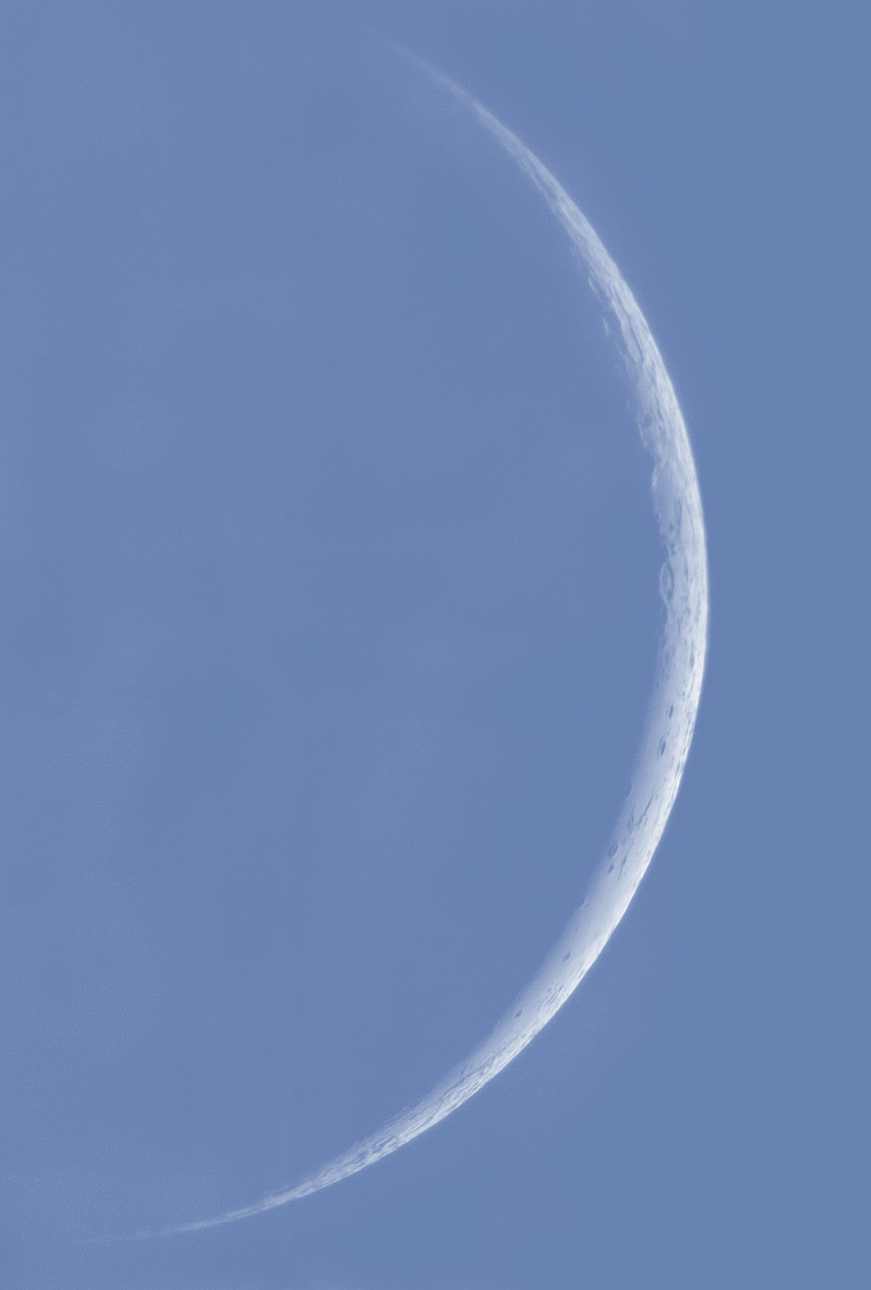
Here you can see the difference between a normally exposed
image on the left with no filters, and the image on the right
with an IR pass filter. While the signal to noise is the same,
the sharpness in IR is 2 - 3x better! To compare the S/N,
the brightness of the same bright patch on the moon was measured. Then
the background sky in each image. The Delta B indicates the contrast.
It was the same - 21 ADU. So next to the Sun, where the sky is
really more white than blue, and with tons of dust and vapor back scatter,
there is no contrast boost.
Select size for enlarged view:
1290 x 960
|
 |
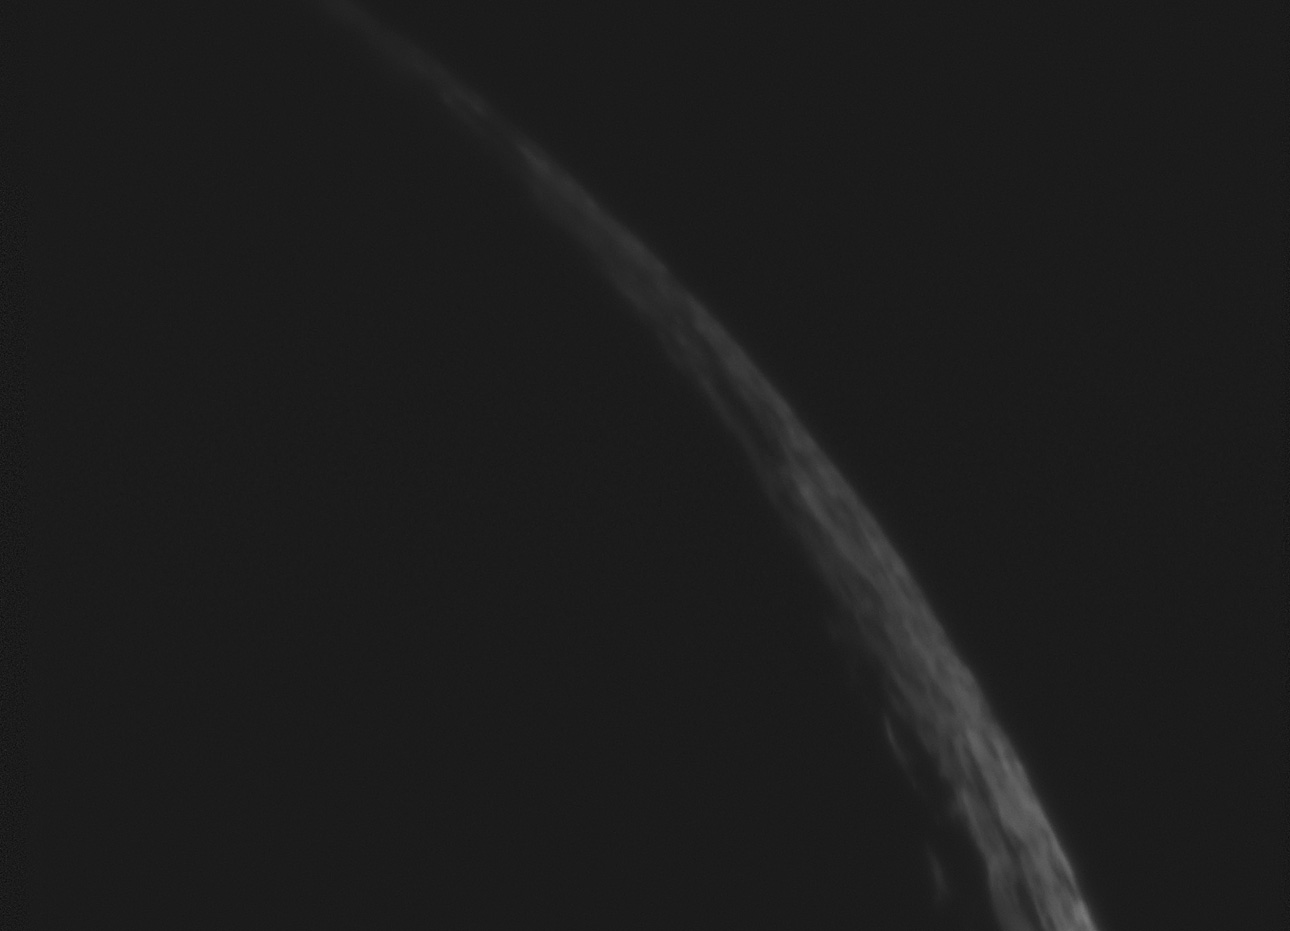
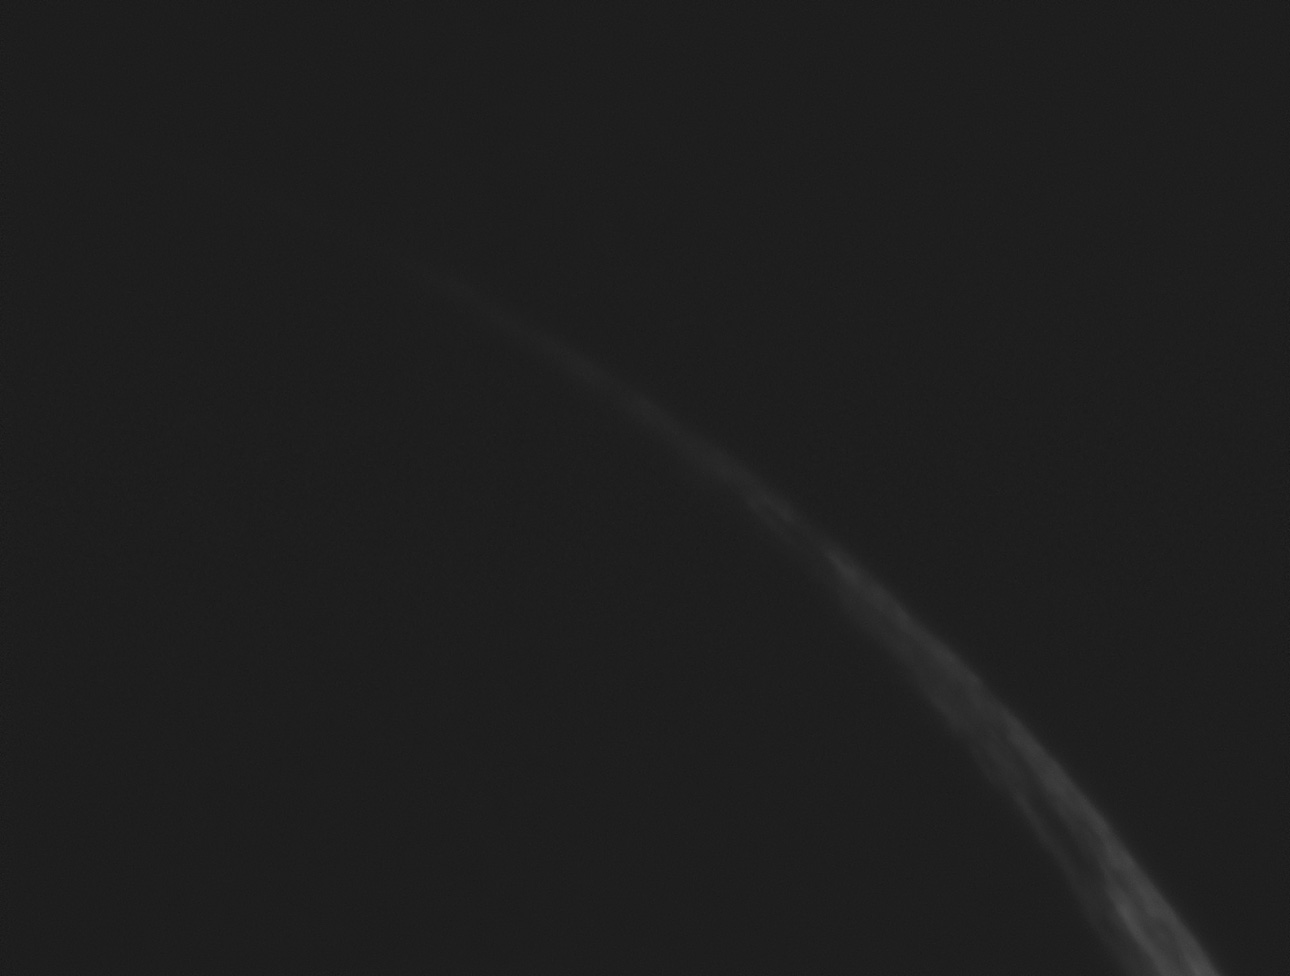
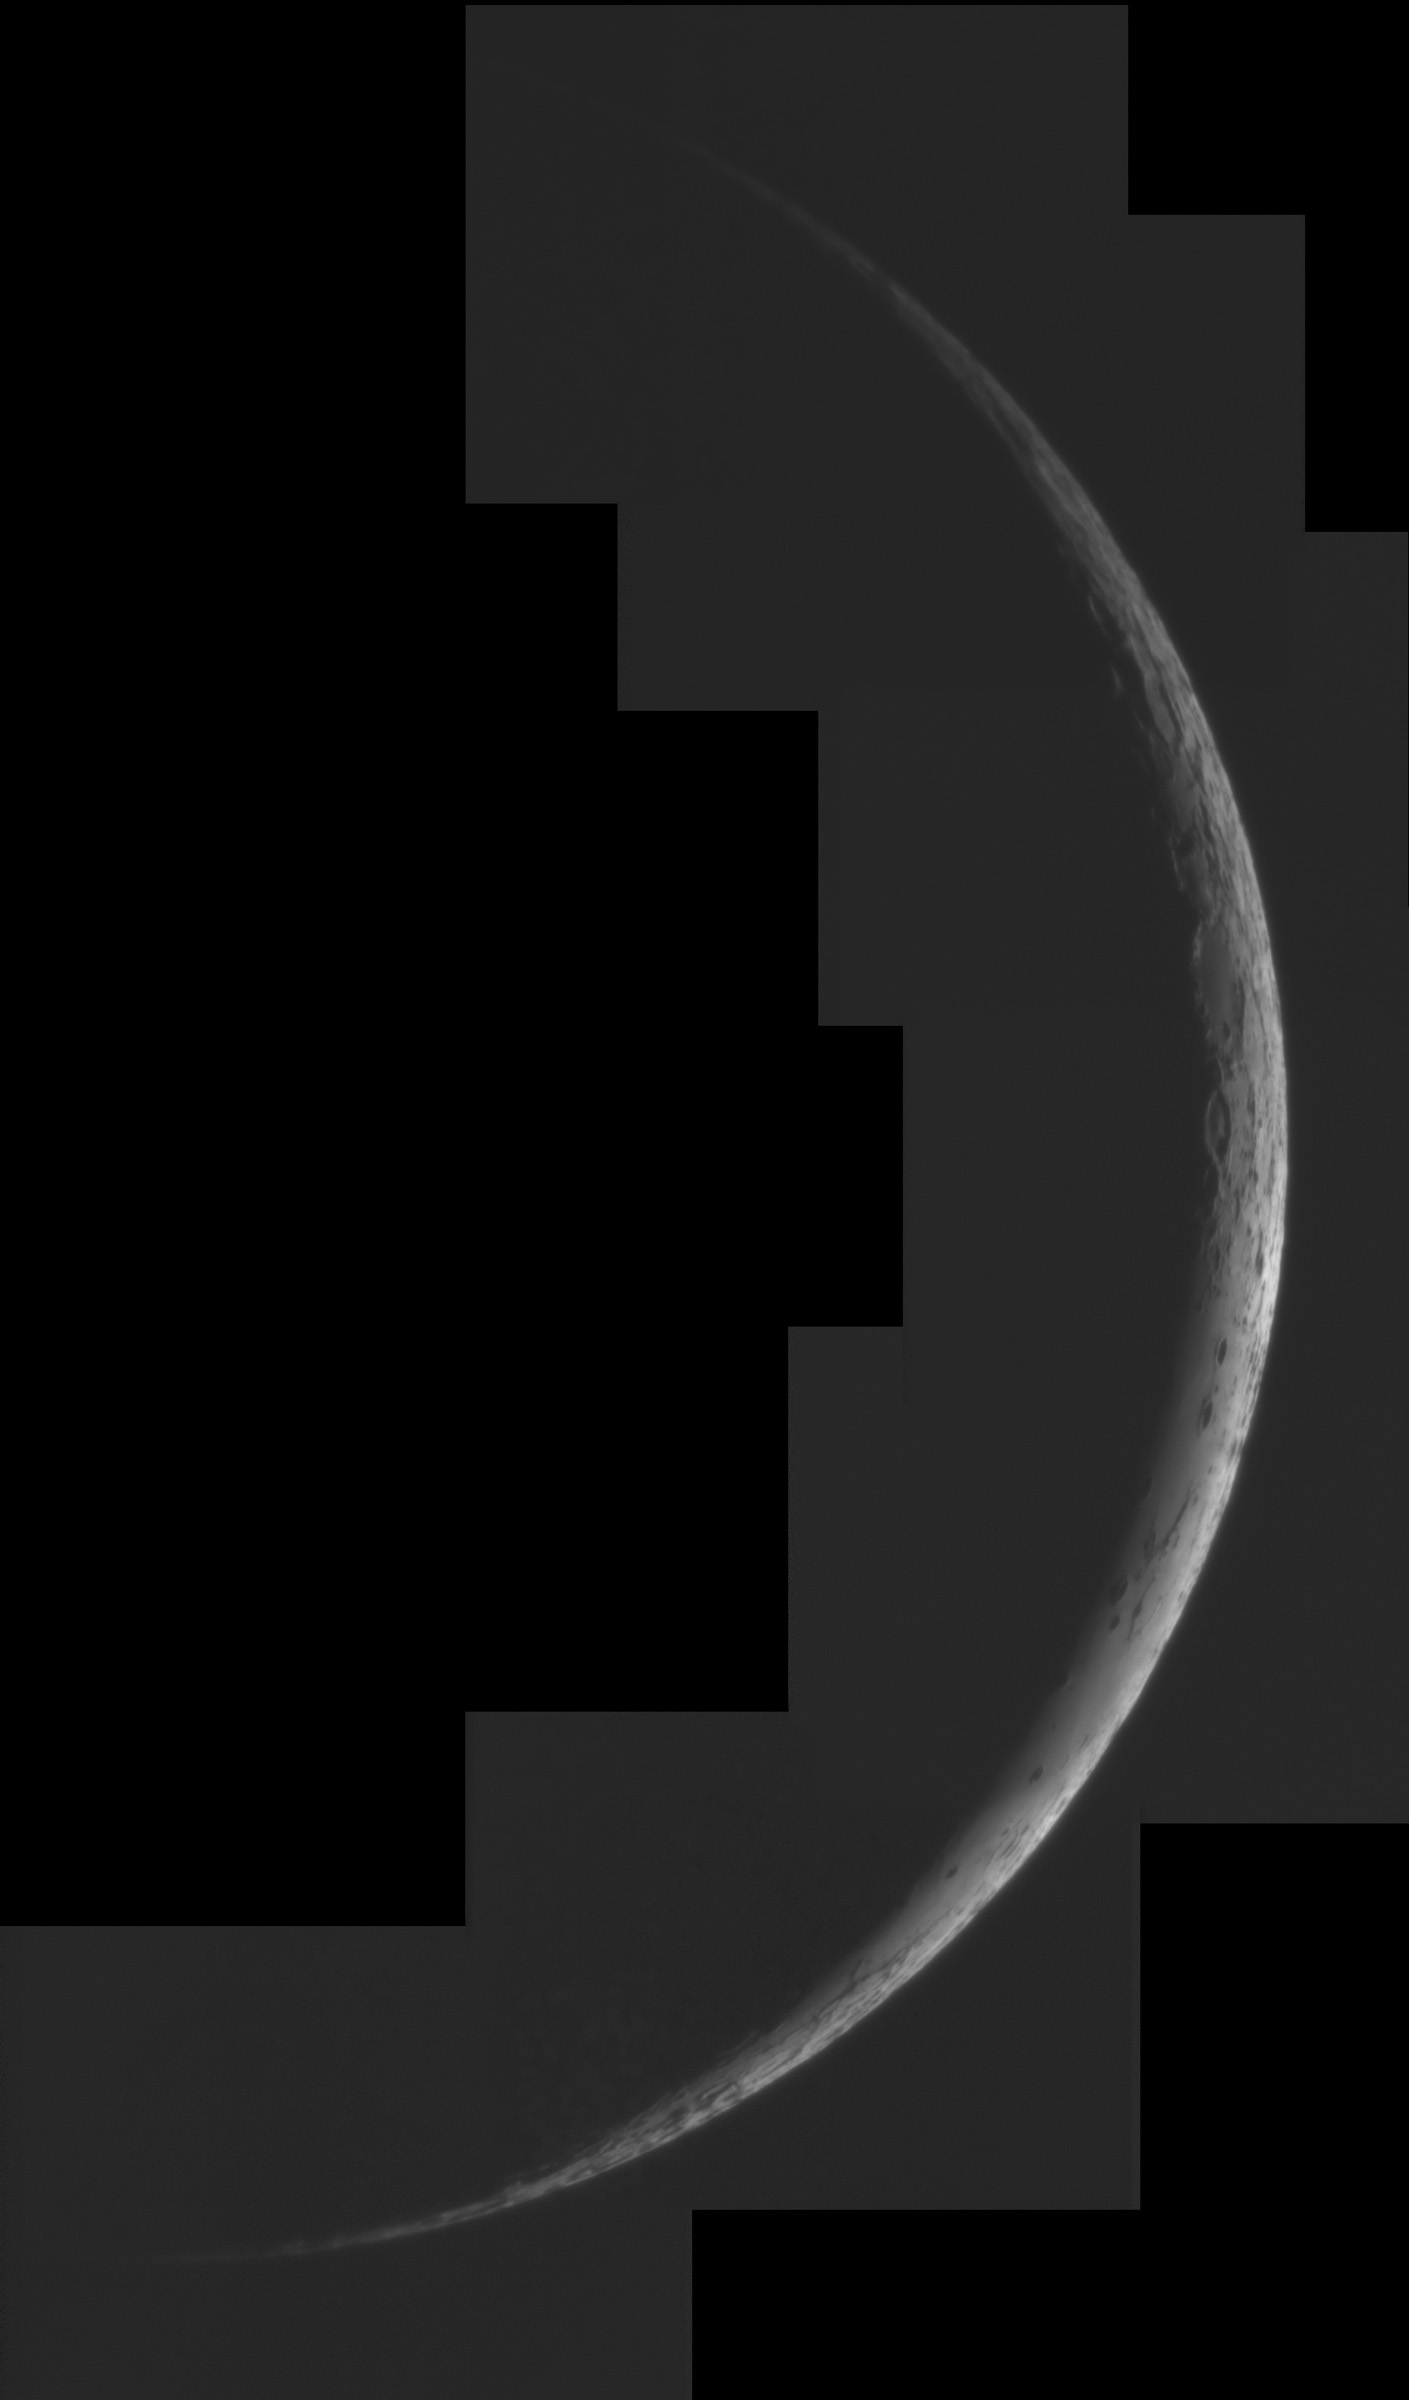
Here is a two part panorama at prime focus
with the 10 inch and IR pass filter. You can just
start to see the unusual black shadow filled craters
on the limb. Mind you, the sky was VERY bright when
I took this image! So bright in fact that it was very
difficult to get an evenly lit shot. Ive darkened the sky
here to improve the contrast in what was a very low contrast
barely there kind of image.
Select size for enlarged view:
1290 x 960
|
|
Same image as above but colorized with RGB data. This
is NOT what I was seeing in the eyepiece. What I saw was
an almost invisible crescent, that was shaking violently in the
very bad seeing at noon, with the sun baking the observatory
and telescope.
Select size for enlarged view:
1290 x 960
|
 |
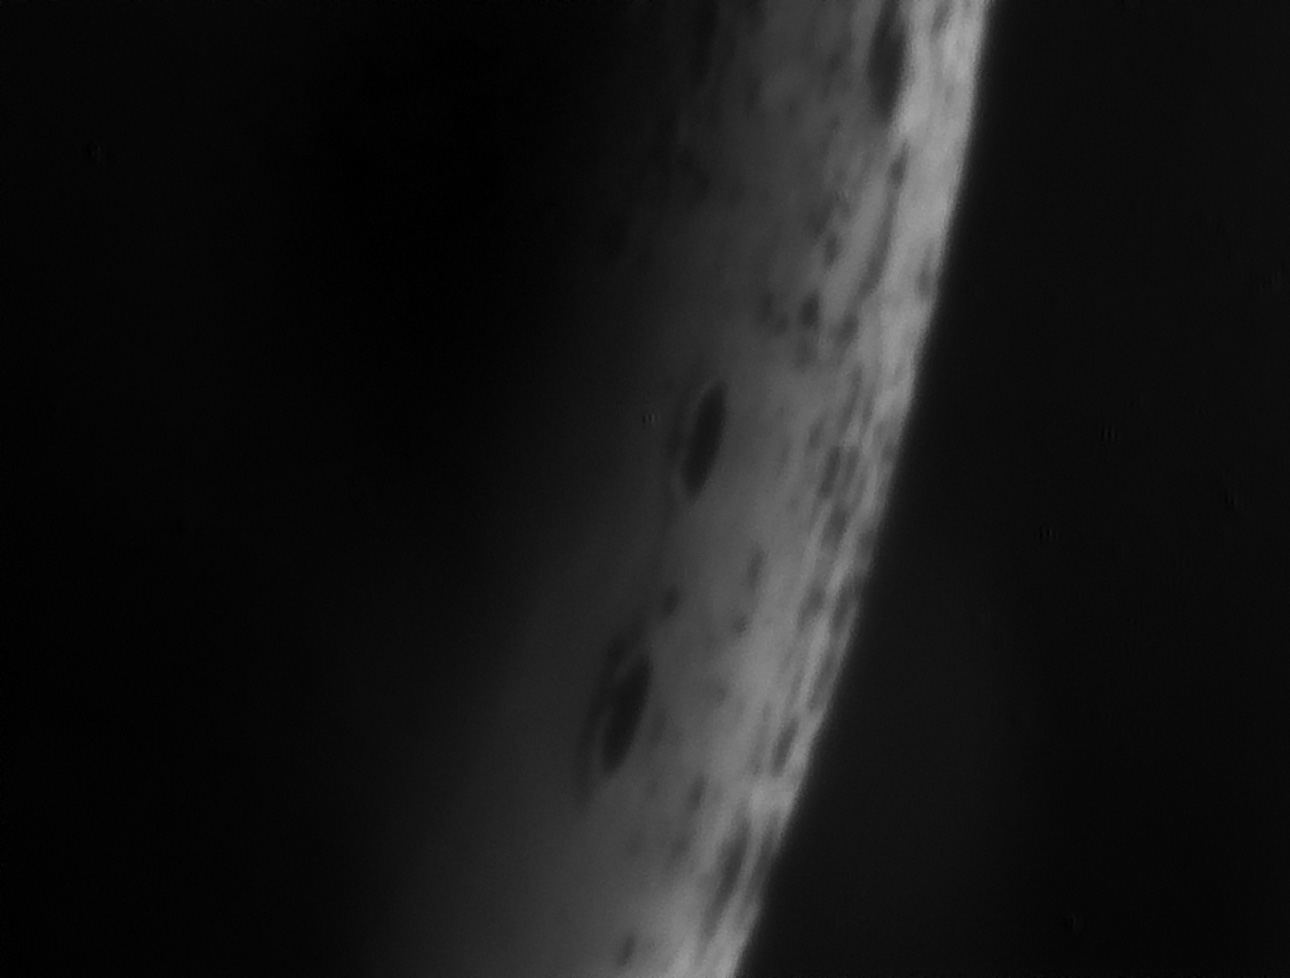
This image is the combined montage with the 2.5x
Barlow. It is large sized and you will have to scroll
up and down the image to see it all. It is about half the
size of the original. Look about in the middle for the
black filled craters. Wild!
Select size for enlarged view:
2400 tall
|
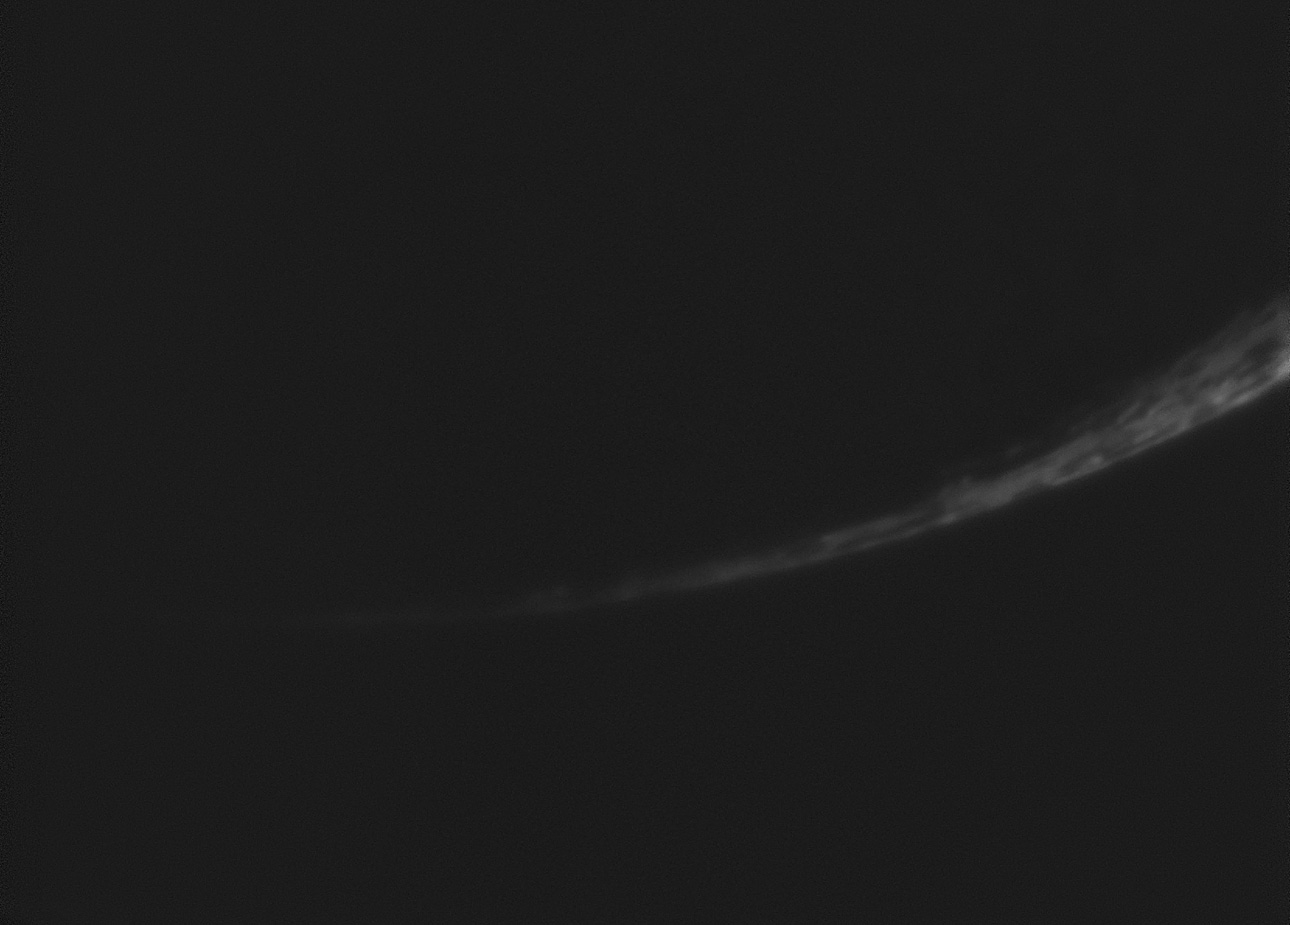
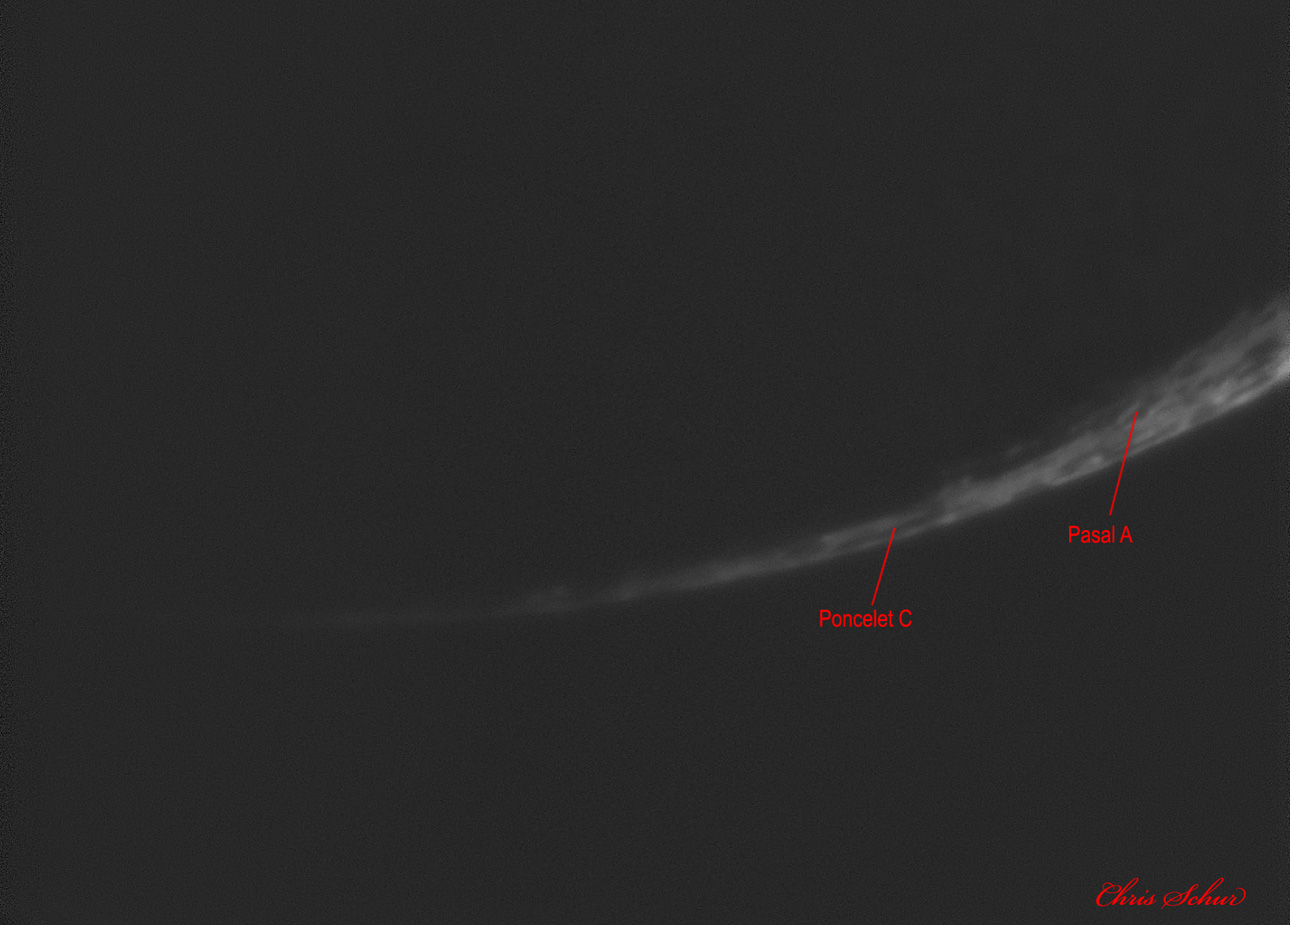
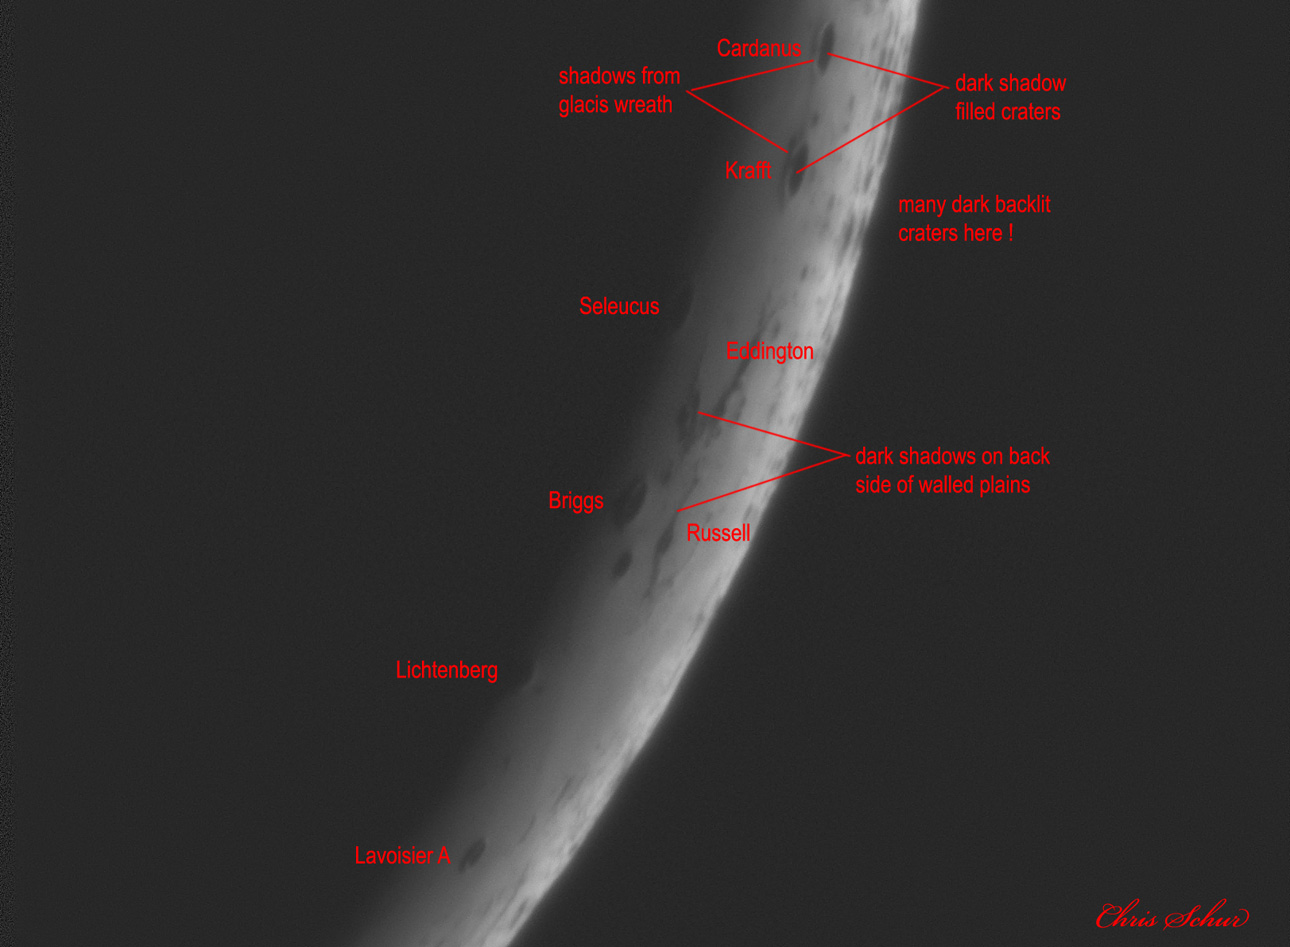
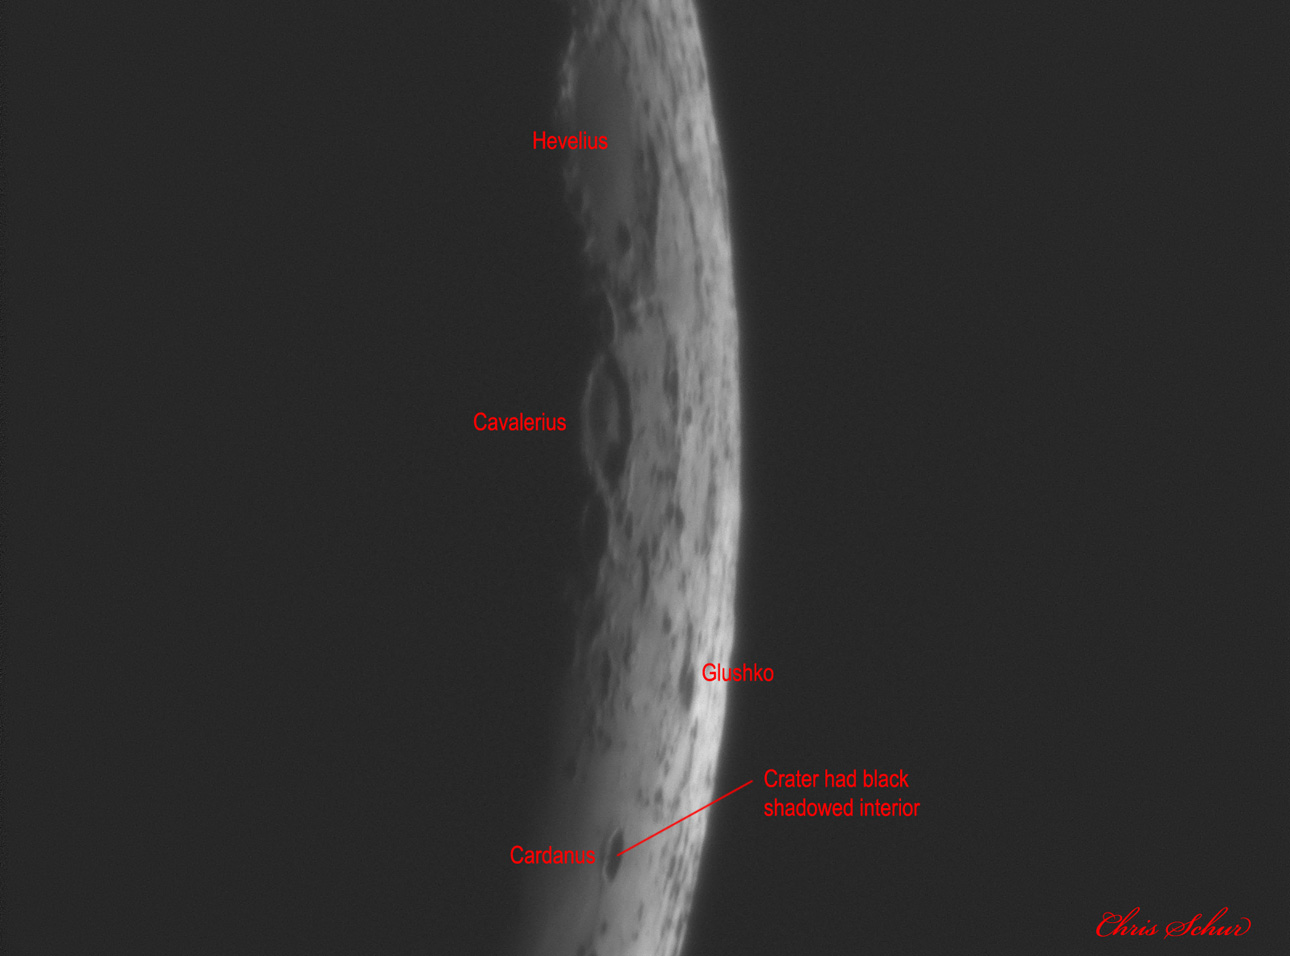
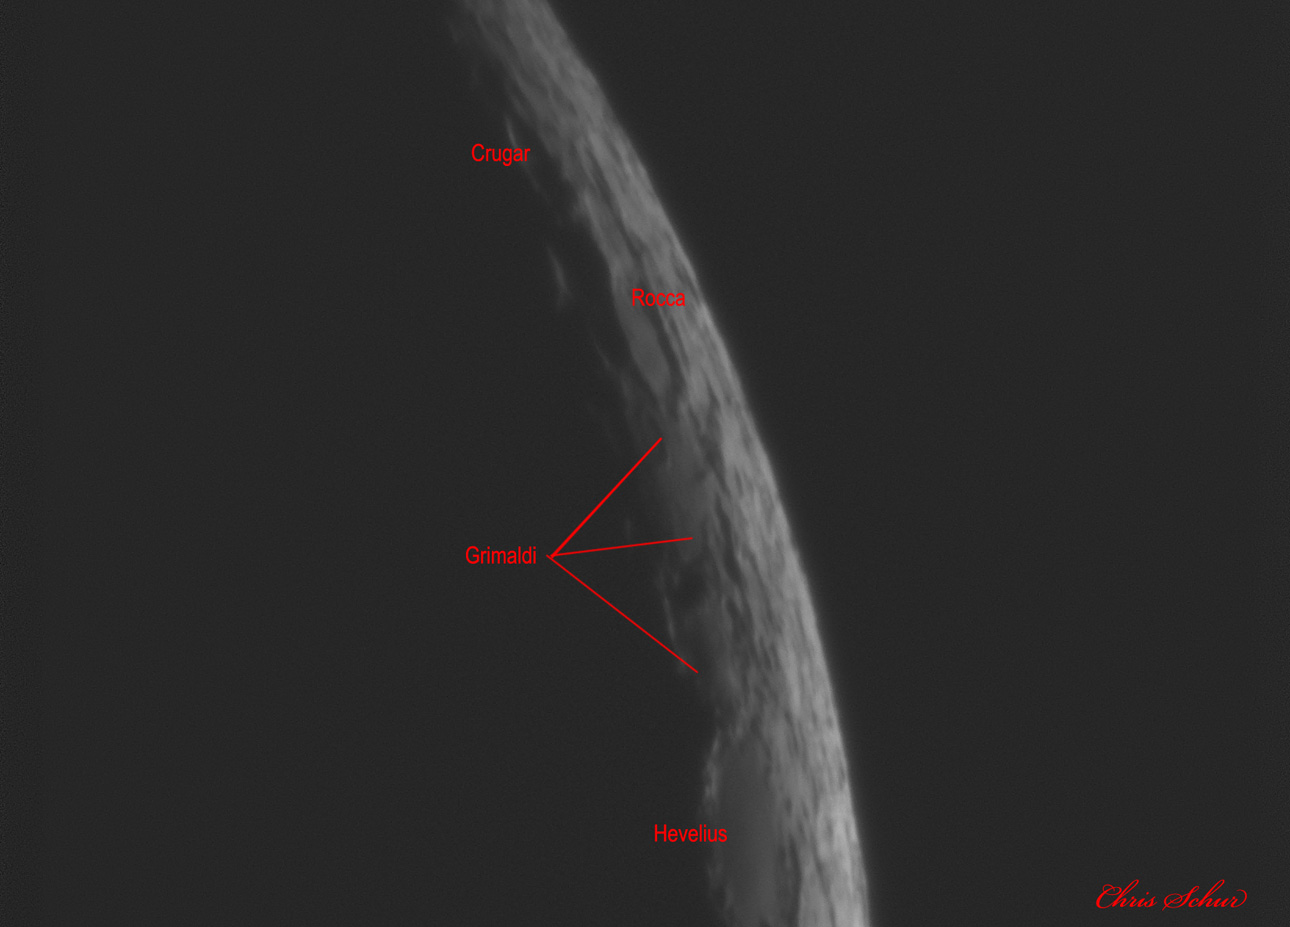
Individual close ups at 75% scale for intricate details:
These are with the 2.5x Televue Powermate, yielding about 2500mm EFL
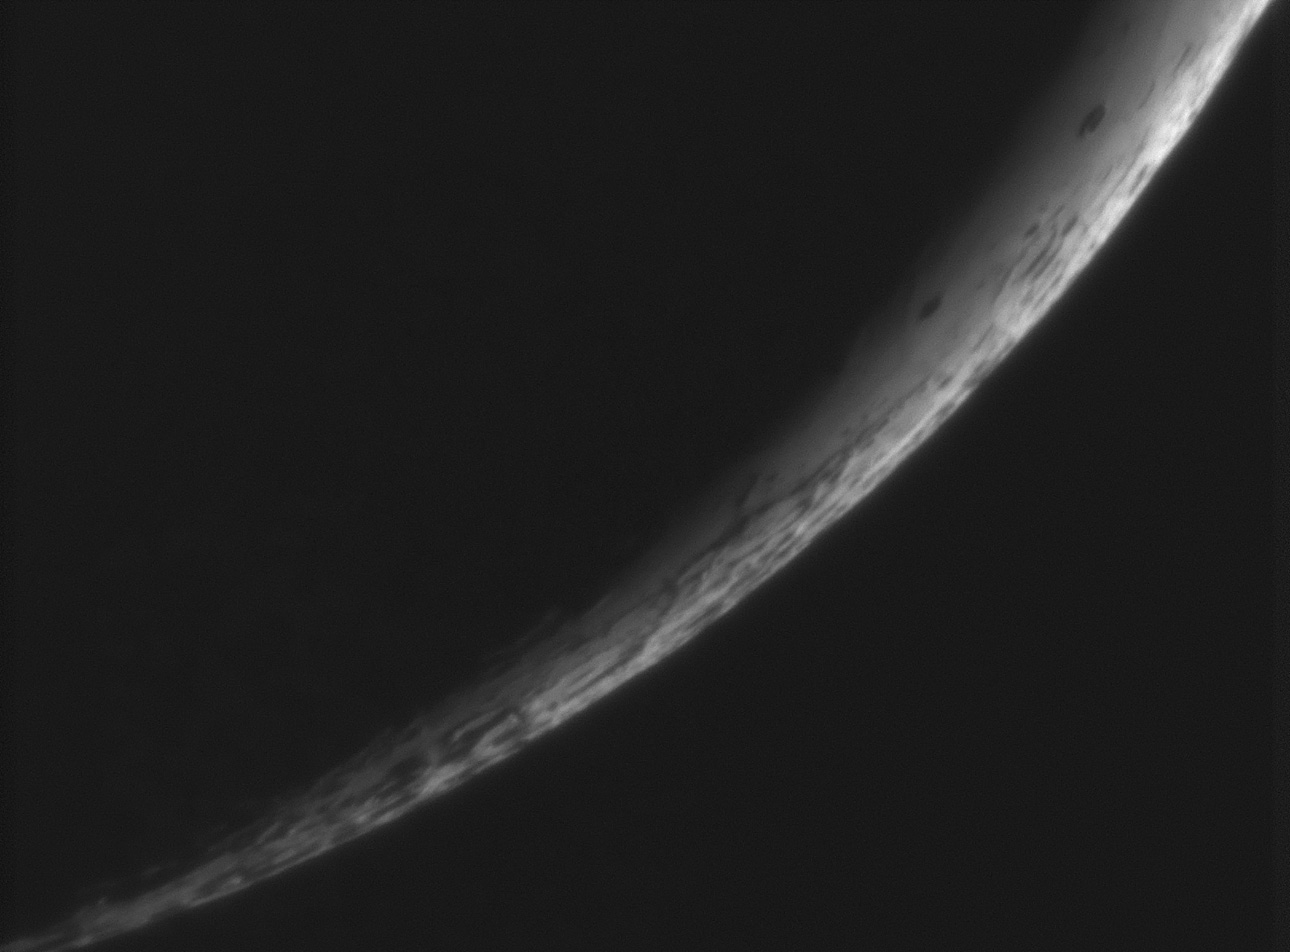
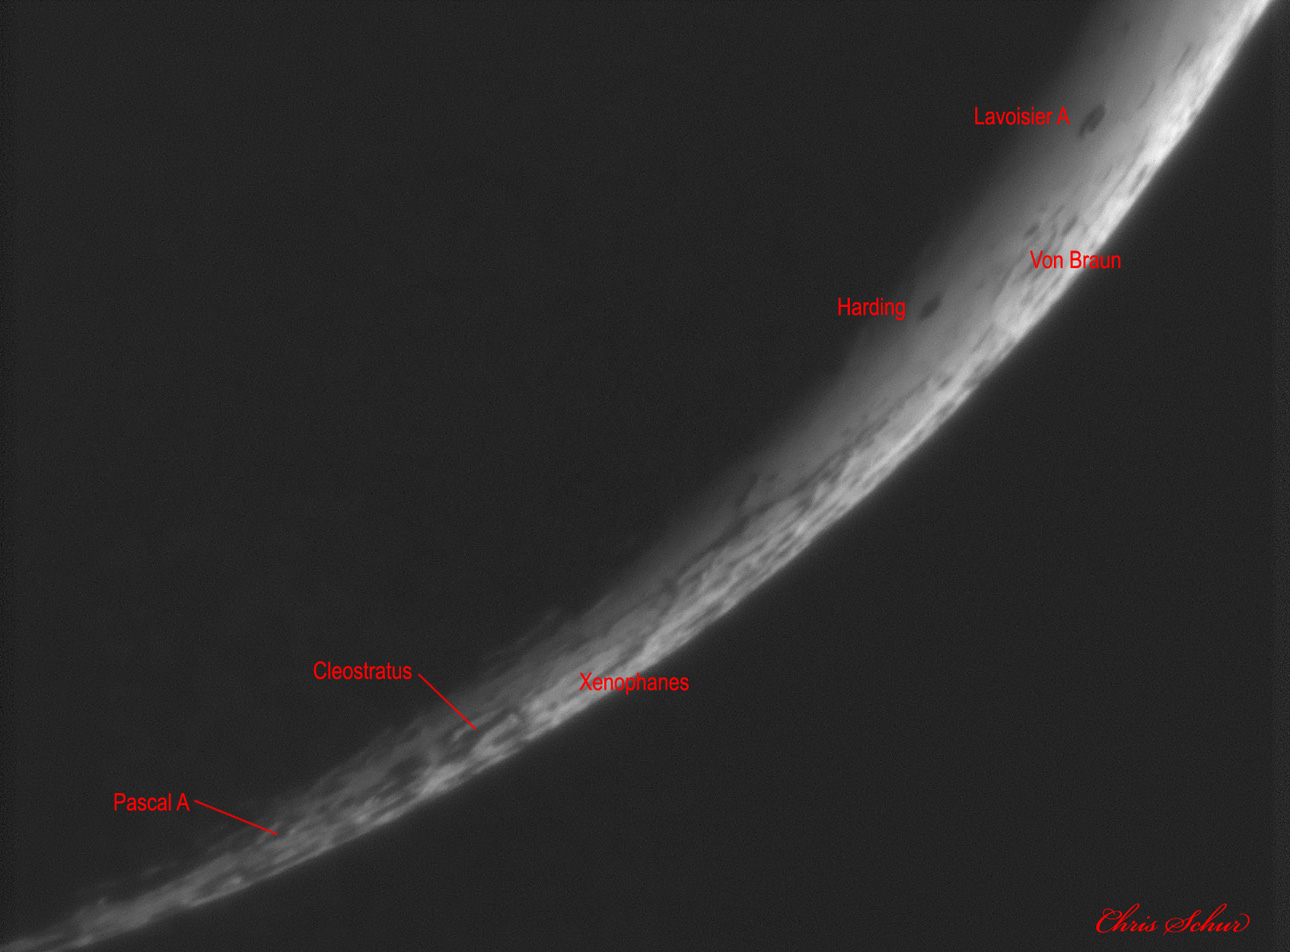
On the left is the original image, on the right Ive labeled the features I could identify with the Virtual Moon Atlas.
 Note the black craters with shadowed rims!
Select size for enlarged view:
1290 x 960
Note the black craters with shadowed rims!
Select size for enlarged view:
1290 x 960
|
 Select size for enlarged view:
1290 x 960
Select size for enlarged view:
1290 x 960
|

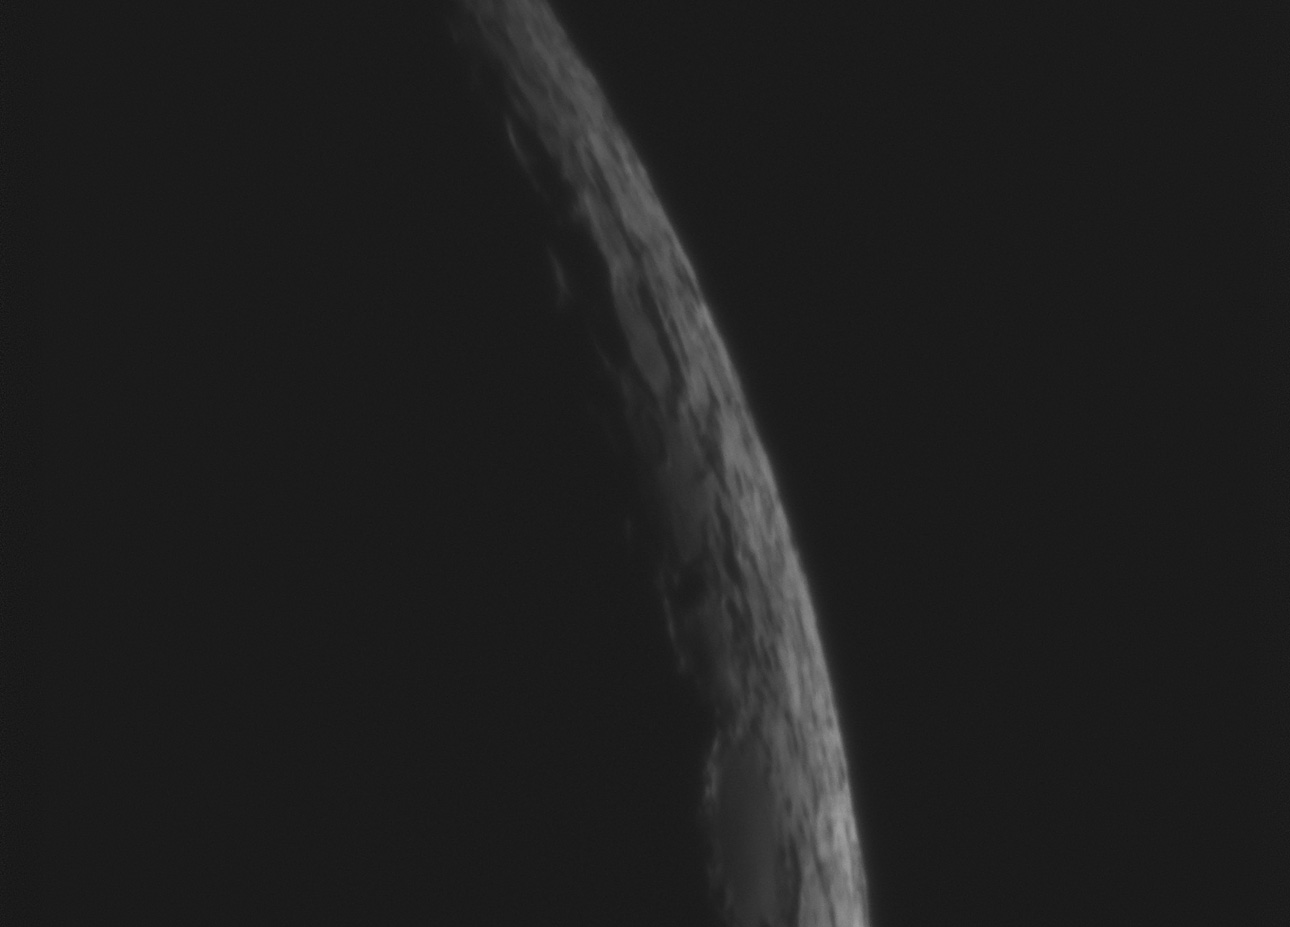
|
Very difficult to identify anything
in this image!
Select size for enlarged view:
1290 x 960
|
One closer view with the 5x Powermate is here.

|
5x close up in pretty bad seeing. But
the black dark shadow filled craters Cardanus and
Krafft that
are backlit with dark shadowed rims are
pretty outrageous. Along the limb we
see more smaller black craters. I have never seen
anything quite like this ever in my lunar images!
Select size for enlarged view:
1290 x 960
|
| Processing:
25/1200 best frames, alignment in Autostakkert, USM, Levels and
Contrast Masking In Photoshop CS2. |
Instrument: Orion (GSO) 10" f/3.9 with 2.5x and 5x Powermates
Platform: Astrophysics AP1200
CCD Camera: Image Source DMK 51
Filter: Orion IR Pass
Exposure: 1/30 sec 12fps for 2.5x, 1/13 sec for 5x.
Location: Payson, Arizona
Elevation: 5150 ft.
Sky: Seeing 1.5/5, Transparency 7/10
Outside Temperature: 75F
|


